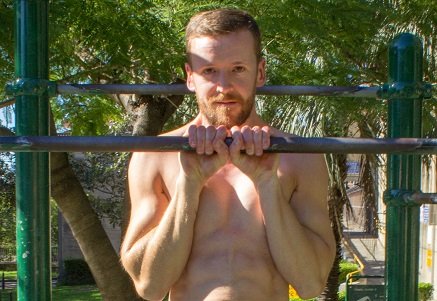
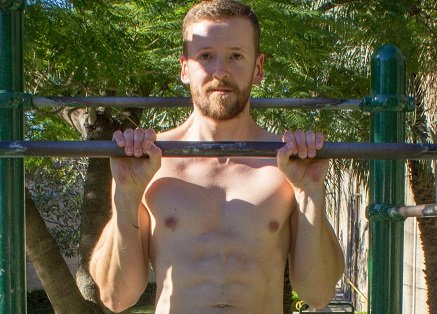
There are many ways that you can vary the form of the standard pull-up.
In this post we shall explore some of these options and offer the benefits and drawbacks to each variation.
TL;DR
Skip to the recommendations section where we’ll combine each of these variations and give recommendations based on your goals.
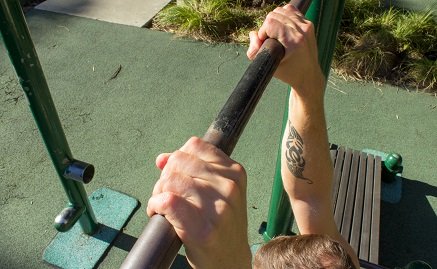
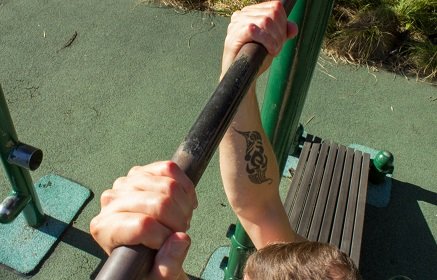
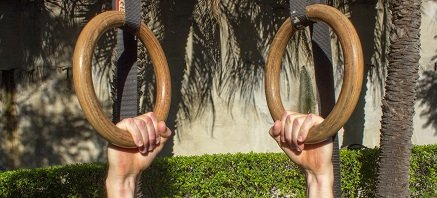
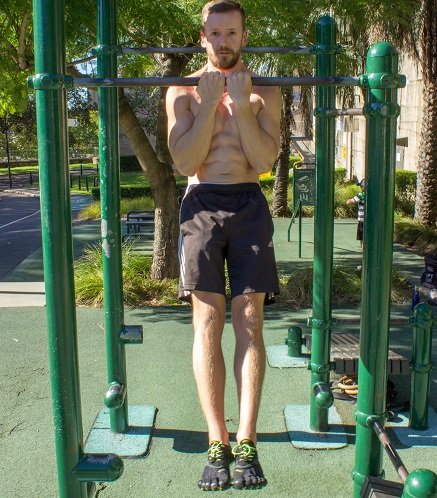
Thumb Position
Thumb Over the Bar
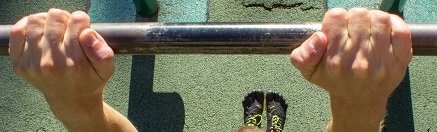
Thumb over the bar is slightly easier to do muscle-ups with, as it positions your hands just that little bit higher over the bar.
However, this position give you less grip.
Bodybuilders will tend to favour this grip as they don’t want too much assistance from the forearms; and can therefore target the biceps and lats easier.
Thumb Under the Bar
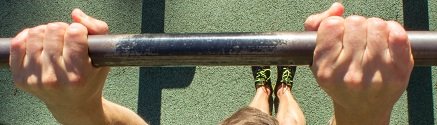
My preferred thumb position for all exercises other than the muscle-up.
By having the thumb under the bar we can really squeeze the bar, giving us better activation of all the muscles up to the shoulder.
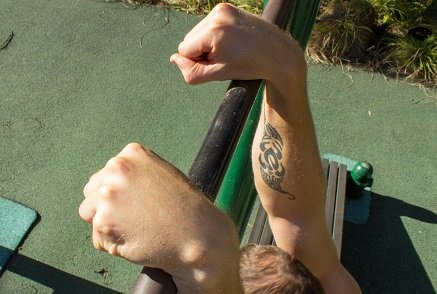
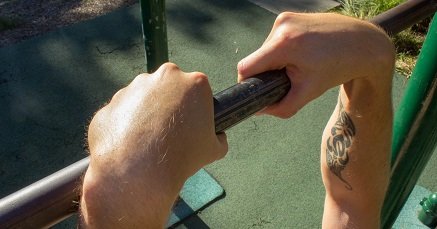
Hand Width
Wide Grip
The wide grip activates the lats more as it gives us more shoulder adduction.
For muscle-up progressions, this will favour those who have tight lats and poor shoulder extension as they won’t have to bring the elbows back as far.
Close Grip
Close grip will use the lats less and therefore rely a little more on the arms.
Full extension in the position maybe difficult if you have tight lats and is therefore a good option to dynamically stretch your lats.
Shoulder Width
The middle ground, providing a decent balance between working your lats and your arms.
Grip Type
Overhand
With an overhand grip, your bicep is a lot less active and instead works the smaller brachialis muscle.
This will also activate the lats a little more as you have less assistance from the bicep.
Underhand
The lats are still working with this grip, but you will have a lot more assistance from the bicep.
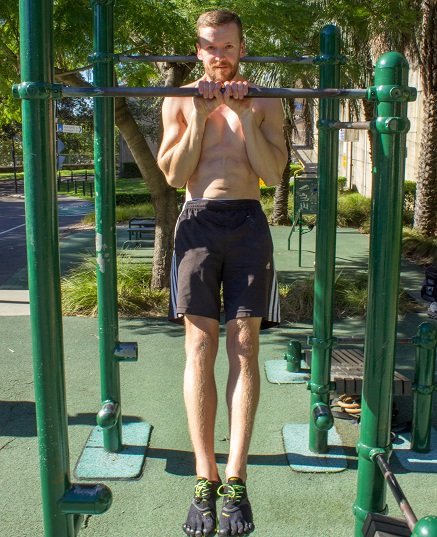
Neutral
The neutral grip is the easiest of all the grips, requiring no rotation of the forearm.
False Grip
False grip involves putting the very bottom of your hand on the bar and making a fist.
This is primarily used for slow muscle-ups as you then don’t need to rotate your hand around the bar.
Pseudo False Grip
Pseudo False Grip is a harder variation on the false grip. You can hold the bar in this position, but still have less rotation around the bar to do.
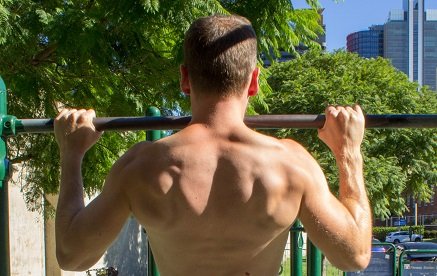
Back Form
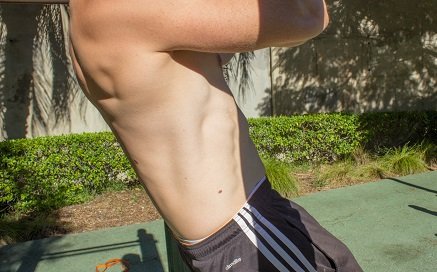
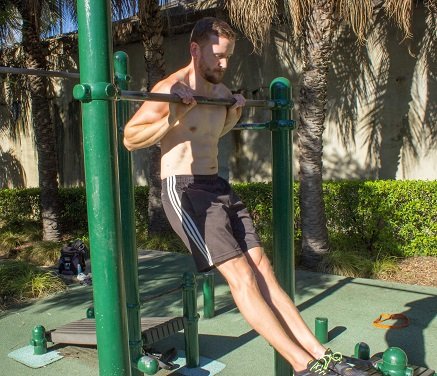
Arched Upper Back (Chest Up)
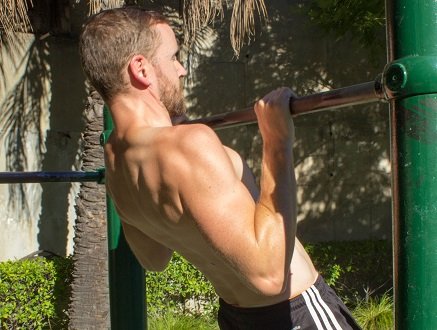
Most people will arch their back to some extend when initiating the pull-up.
In this position you are making the pull a little less of an overhead pull and a bit more of a horizontal pull (row).
This means that you’re going to engage the lats more as well as letting the rhomboids give you a bit of assistance.
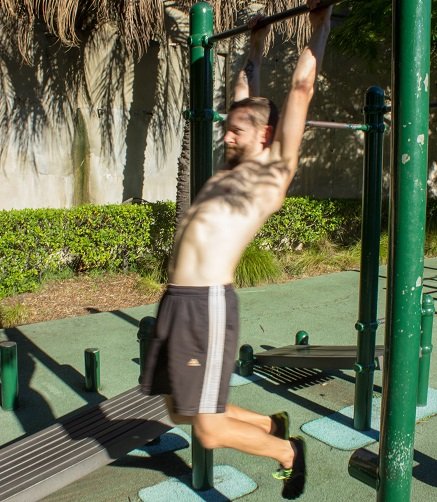
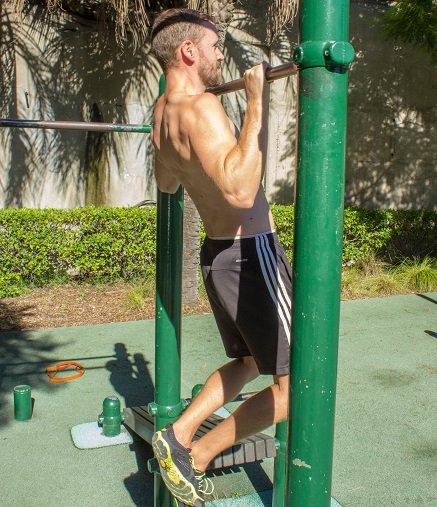
Hollow Body
The hollow body pull-up engages more muscles, including the abs and even the chest.
It requires good overhead mobility to keep the back straight throughout.
The main advantage to a hollow pull-up is if your upper back is less arched then your elbows will be higher in the top position.
This makes it the go to form for doing any kind of muscle-up as the higher your elbows are, the closer you are to transitioning into the dip position.
Leg Position
In Front
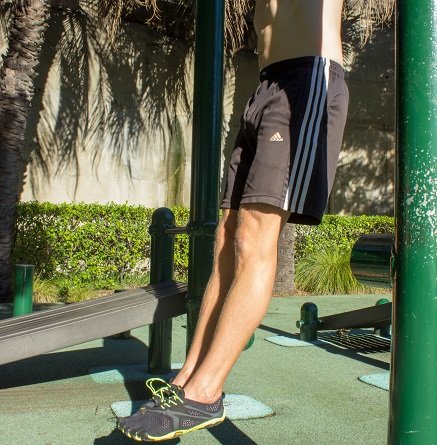
Typically used in conjunction with a hollow body, this tends to reduce the amount of arch your back has.
Behind
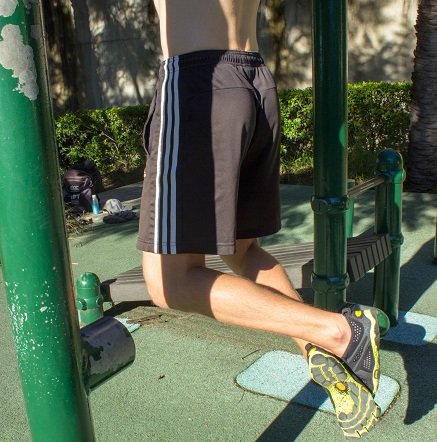
By starting with your legs behind, you are encouraging the back to arch.
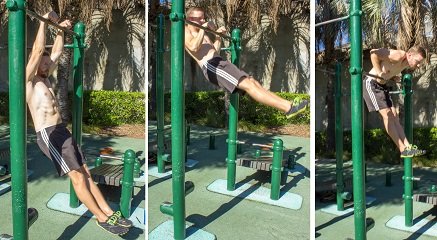
Kipping
This is the act of using the legs to kick yourself up and is usually used to rep out lots of pull-ups.
Whilst I do recognise that some disciplines require you to perform a set amount of pull-ups as quickly as you can, this is not a technique that we teach at MP Calisthenics.
If your goal is to do lots of pull-ups in a short amount of time, then why not get all the benefits of doing as many strict pull-ups as you can.
Recommendations
All of these technique variations have their own advantages and disadvantages, in this section I will show you my recommendations based on your goals.
Goal 1 – The Explosive Muscle-up on the Bar
In order to perform an explosive muscle-up, you must first build up your pull-up strength. To get the most out of these pull-ups, I recommend the following form:
Thumb can be over or under the bar, but when practising the muscle-up, I advise going over.
If you have tight lats, then I advise going for a slightly wider grip as this will make it easier to get more explosive power in the bottom position. Otherwise go for a shoulder width grip.
Your hands should have an overhand grip; whilst a muscle-up with an underhand grip is possible it is a lot harder.
You will want to get your back as close to a hollow as you can. This can be difficult at first, but with practise gets easier; you will also find that as you get better at this, your height on the bar will improve.
The legs should be in-front of you, nice and straight with no kicking. Not only will this improve your hollow pull-up, but it also provides a counter-balance for when you come to the transition in your muscle-up.
Once you can rep out 10 quality pull-ups with this form, preferably with the first one being chest to bar, you are ready to start training for the muscle-up.
With this foundation and the right progressions it won’t take you long to get your first muscle-up.
Goal 2 – The Slow Muscle-up
Before attempting the slow muscle-up, I advise that you have a solid, no kipping explosive muscle-up under your belt.
From there, the form is the same as the explosive muscle-up pull-ups, other than the grip.
The first variation I advise that you use is the false grip. With this grip, you won’t have to pull-up as far to get your body into the transition phase. This is because your wrists start inline with the bar and your hands don’t need to move throughout the movement.
You may need to practise hanging from the bar with a false grip before attempting this one, work your way up to 30 second hangs.
Once you can do this then start doing pull-ups with this grip, concentrating on getting as much height as you can.
Eventually you will be high enough that your elbows are just below parallel with your wrists; from this position you can start pushing up into the muscle-up.
If you find yourself not being able to get enough height, then try holding the top position for a few seconds.
Once you have unlocked the false grip pull-up, give the pseudo false grip a go. This means you have to pull-up a bit more to get to the transition, making it more difficult.
The thumb over, slow muscle-up is a different beast, you will require lots of hollow pull-up strength as well as dipping strength. For a thorouch tutorial on how to unlock the slow muscle-up, check out this post.
Goal 3 – Bigger Back
If your main goal is to get a bigger back and you’re not too concerned about getting a muscle-up, then you need to perform your pull-ups in a way that will get the most lat and rhomboid recruitment.
Your thumb should be on top of the bar in order to reduce the amount of grip assistance you receive.
Hands should be wide, this will increase shoulder adduction, which will in-turn engage your lats more.
You’re going to want to go with an overhand grip, as this will stop the biceps from helping out too much.
When initiating the pull-up, think about aiming your chest towards the bar. This will again increase lat activation as well as get the rhomboids involved in the movement. To encourage this further, put your legs behind you and cross them over to prevent kicking.
Aim for 3 sets of 10 of these with a minutes rest in-between. Once this is too easy, start adding weight to your pull-ups.
Goal 4 – One Arm Pull-up/Chin-up
If you want to achieve the ultimate in pull-up strength then this is the form you should stick to.
Thumb underneath, you’re going to need all the help you can get from as many muscles as possible!
Position your hands right next to each other, this is a better recreation of how a one arm pull-up/chin-up is performed. The single arm won’t be out wide, this would make it far too difficult to stabilise the other side of your body.
Work on both underhand and overhand progressions. This will keep your biceps strong as well as building strength in the back.
You want your body to as close to hollow as you can, this will recruit more muscles and will give you more strength as you get better at it.
Leg should be out in front with no kick. Your first one arm chin-up/pull-up will probably involve quite a lot of kick, but when training for it, you should minimise this.
From here either follow a progression to a one arm chin-up or simply add weight to this movement (or both!).
Goal 5 – Bigger Biceps
Now before I get into this, I know that most bodybuilders wouldn’t use pull-ups to build bigger biceps; they’d simply perform bicep curls. However you’re reading an article on pull-up form, so I’d be amiss to exclude the right form for building bigger biceps!
Unlike building a bigger back, you’ll want to put your thumb under the bar and squeeze the bar with all your might. This is because of Irradiation. This means that if you squeeze the bar tightly, this will engage your bicep better. You can test this by making a fist and squeezing it until your knuckles turn white. Feel how that activates your bicep? We can use this to get the most from your chin-ups.
You want your hands right next to each other, minimising the assistance from the lats and putting more strain into your biceps.
An underhand grip is essential to activate the bicep.
Get your body into a nice hollow position will reduce the assistance from your back. No kicking allowed!
As with the bigger back, lock in 3 sets of 10 with a minutes rest and add weight once this is too easy.