TL;DR
One of the biggest elements holding someone back from becoming proficient in a handstand is fear.
Learning to safely bail out of an overextended handstand should be one of the first skills that you learn. Master it as early as possible in your handstand journey.
Read this article & watch the accompanying videos to fully grasp the round off technique.
Be Safe!
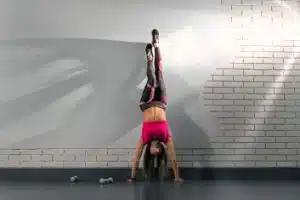
We spend most of our time on our feet, so naturally, being upside down can induce a lot of fear. Reducing that fear is one of the necessary components in developing balance control.
As mentioned in the “3 Tricks To Make Handstand Balance Easy and Achievable” article, when you have ‘The Fear’ in you, your handstand entry will always be manipulated in such a way that restricts you from fully committing.
While there are multiple different methods that people use to exit a handstand, the safest method is always the best.
Let’s discuss the pro’s & con’s of the two dominant methods.
Forward Roll
The forward roll is exact what it sounds like. Bailing out via the forward roll requires you to tuck your body into a ball when you begin to feel like you are falling over. This will allow your body to disperse any unwanted force or impact as you roll forward to safety.
Pros
- Less technical than other bail-out techniques
Cons
- Rolling on hard surface may result in injuries
- Appearance is clumsy & amateurish
- Decreased last minute bail-out capacity
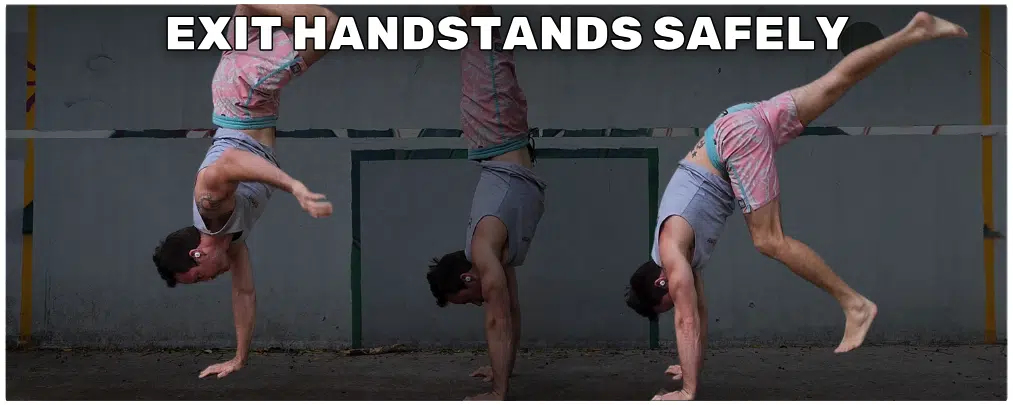
Round Off
The round off is an exit strategy often seen in gymnastics and is also our preferred method. While gymnasts have a high focus on perfection in their round off execution though, safety is of higher importance for us, this is why our technique is not quite as explicit.
To perform a round off, as seen in the bail-out video, there are a few points to consider.
- First, you must choose a direction in which you will bail-out. Everyone has their preferred side, left or right.
- After you kick-up and are aware that you are about to overextend, your body will twist toward the side that you have chosen as your bail-out direction.
- As this twist happens, the hand on the same side as your twist direction will move forward & internally rotate approximately 90 degrees. This rotation will keep your wrist in a safe position.
- Maintain rigid hips. (don’t allow hips to rotate & the trailing leg to overextend past the leading leg)
- Land with a foot on either side of the hand that has rotated, resulting in a balanced landing platform.
Pros
- May be performed on hard & soft surfaces
- Improved last minute bail-out capacity
- Appearance is more professional
Cons
- More challenging to learn
Why Should I Do It?
Put deliberate practice into learning how to bail out of a handstand and you will reach a new level of proficiency.
If you don’t learn this crucial skill you will either do one of two things, (or both).
- Hurt yourself during practice, and in doing so, increase your fear.
- Never fully commit to kicking up, resulting in inconsistent handstands.
While practising the bail-out is great, there are many other techniques and skills that you can employ to reduce your fear.
Follow the progressions in this video to build shoulder stability & strength. This will assist you in moving away from the wall & to perform a free-standing handstand!
Want more handstand tips?
In this article we delve into the body’s 7 pivot points and how to find balance in the crow-stand.
Read 3 Tricks To Make Handstand Balance Easy and Achievable, if you want greater focus in your hand control, shoulder stability, and breath control.