TL;DR
Use of a wall will greatly increase your confidence, or it can hinder your progress.
Advance through progressions that become steadily more difficult.This will increase your awareness, strength and confidence upside down.
Follow the instructions in this post and advance through the progressions in the accompanying video.
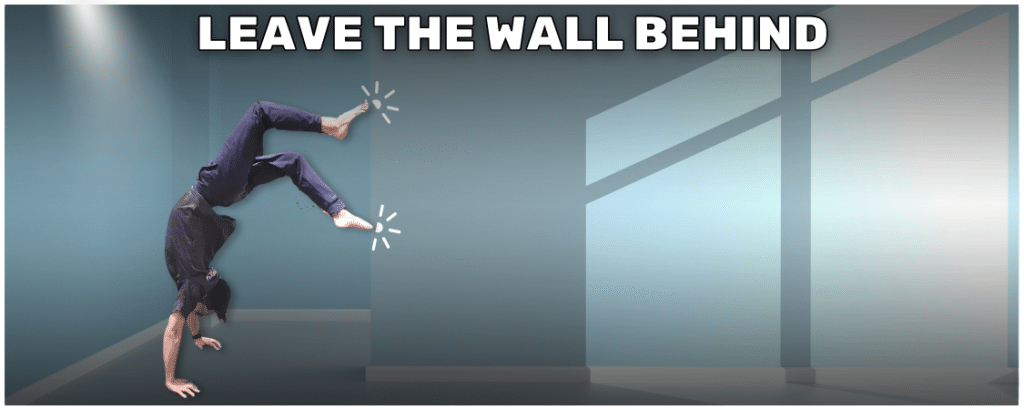
Build Your Handstand Confidence & Leave The Wall Behind
You will undoubtedly use the wall as a beginner, but also as an advanced handstand enthusiast. In both of these situations, the wall can be either a beneficial tool or a crippling crutch.
How you use it is up to you.
The Wall & Your Handstand Journey
As a beginner, you often rely on the wall as your primary support because it helps you to gain comfort in being upside-down. There’s no doubt about that, but there is a time for the wall and there is a time to leave the wall behind.
As you become more skillful the wall will continue to assist you in forming shapes and transition into advanced positions such as the seven, hollow-back, and the one-arm handstand.
In the interim stages of your handstand journey however, it’s crucial to transition away from the wall but this marks the most intimidating phase of learning to handstand for many.
Never forget why you started your handstand journey and continue to push through procrastination and fear.
To assist moving your handstand journey away from the wall you should learn how to bail-out. Without mastering a safe bail-out technique, you may never progress and the risk of injury will remain elevated.
Fast-track Your Freestanding Handstand!
Adopt a two-pronged strategy to safeguard your shoulders (and boost your confidence) by focusing on these two elements.
- Building shoulder strength.
- Mastering the bail-out technique.
By taking this approach you will become comfortable upside-down but the time it takes to achieve mastery will vary for each individual. This is primarily influenced by your risk tolerance. Since our unique life experiences contribute to shaping our risk tolerance, some may be happy to jump straight into a wall handstand while others will need to start in a headstand.
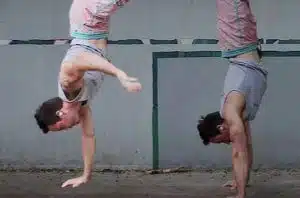
Build shoulder strength and proprioception by spending more time upside down.
More time in a headstand or handstand position will build shoulder strength, wrist & forearm strength, awareness, and a range of other benefits.
Skip to whichever progression suits your current skill level but ensure that you are attaining proficiency before you move to the next.
- Headstand (back against wall)
- Headstand (back clear of wall)
- Handstand (back against wall)
- Handstand (back clear of wall)
The important thing to remember during each of these progressions is your proprioception, so focus on it.
Whilst being upside-down you must often aim to consider many points such as;
- Are my abs and glutes engaged?
- Practice regularly and deliberately.
- Are my toes pointed?
- Are my shoulders depressed, away from my ears?
- Is my back arched?
There's Too Much To Remember!!
After you have been practicing for a while and are becoming more acquainted with the upside-down world, you will intuitively recognize each of these pivot points and understand how they affect your body position.
Deliberately contemplating each of these pivot points will not be an active thought process throughout your entire handstand journey. Instead, it will gradually become more automatic, and you will gain a deeper understanding of how the pivot points on your body interact with each other and how they influence your balance.
Use the wall intelligently, but also know when to leave it behind.
Train with like-minded people so you can learn more.
Practice regularly and deliberately.
Also, never, ever stop.