Let’s be honest with each other: We want our workouts to be quick and effective. That’s why compound exercises such as pull-ups and push-ups, squats and any variation of them are my go-to tools when assembling an effective workout.
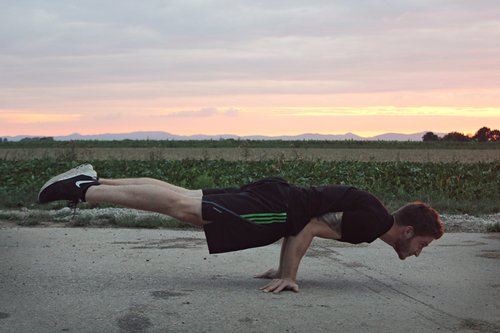
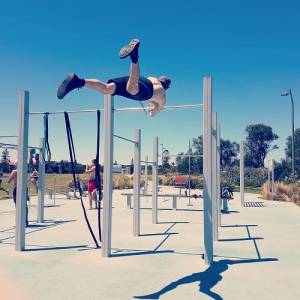
We also want to do the cool stuff. Things like one-arm handstands. The moves that, when you’re done with a set and everybody around you is sheepishly gazing at you and you’re like “Yeah that’s right, I just did that.”
Yoga poses are not so sexy in this regard. That’s why many hobby trainees like to skip stretching because they don’t get a pump from it. They also fear that it takes too much time. On top of that, willpower is usually sapped after a hard workout.
Let me be clear: If you are even remotely serious about your training, you will warm-up properly and you’ll do a cool-down routine after a workout. My recommendation is to do mobility drills and light moves as part of the warm-up, while doing mostly static stretches in the cool-down.
There’s a couple of reasons to stretch after a workout:
- It’s the perfect method to power down the nervous system after an intense session.
- Flexibility is critical for many advanced calisthenics moves.
- Your body temperature is fired up after a workout. This makes your muscles more pliable during stretching.
- It gives the muscles a signal to relax. This prevents nasty chronic tensions.
Excessive static stretching before an intense strength training session is a bad idea. It can lead to injury rather than prevent it. Some corrective mobility drills that help you move with more quality are fine, though.
Now that I sold you on the importance of cool-downs, your feet must be trembling to find out what a good set of stretches might look like.
The stretches below are what I found to be the most effective ones in terms of bang-for-your-buck.
Do all 7 in a row for 2 rounds and you’ll give your whole body a thorough stretch.
1. Forward Fold
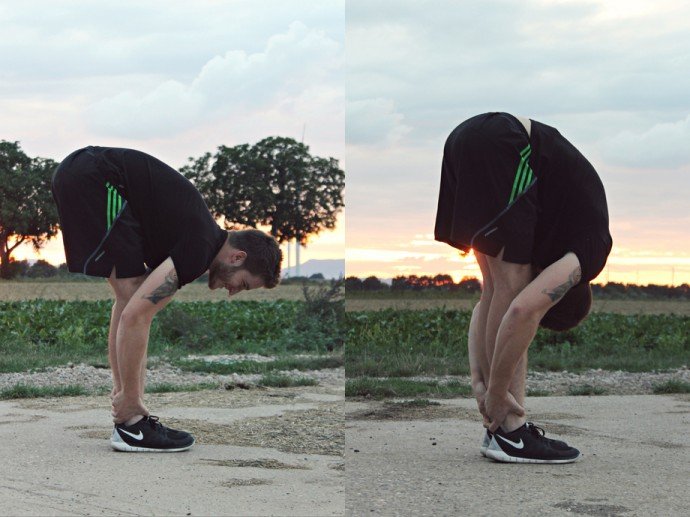
This is a very common stretch for the hamstrings, calves and lower back. If pistols and L-sits are on your bucket list, this one’s gonna help you big time.
Start from a standing position. Big toes are touching each other, legs are locked out at the knees. Lower down your torso and try to pull your chest forward first. Engage your abs while doing this. Now try to grab your ankles. If you’re particularly stiff, you may bend at the knees as minimally as possible. Now try to lower your head until it touches the knees.
2. Eagle
This classic yoga pose primarily stretches your deltoids (outer part of the shoulders), which is especially neat for learning the elbow lever.
Start from a standing position and fold one leg over the other. Hinge at your hips and use your arms for balance. In the beginning, you might not be able to lock your foot behind the other leg’s calf like I do in the photo above. That’s ok.
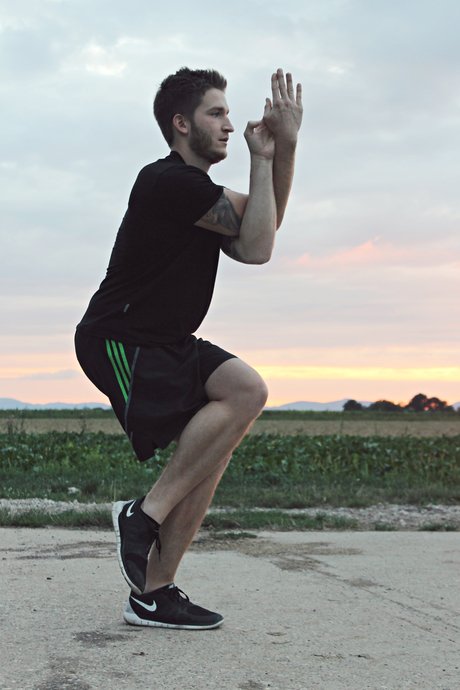
When you’ve found a stable balance point, start folding your arms over each other. It’s not terribly important which one goes over and which goes under. Just make sure that when you switch sides, you do it with both your legs and your arms.
With the hand of the arm that goes under, try to touch the palm of the other hand. You can fold your hands into each other to deepen the stretch. Keep a straight back and look straight in front of you.
3. Triangle
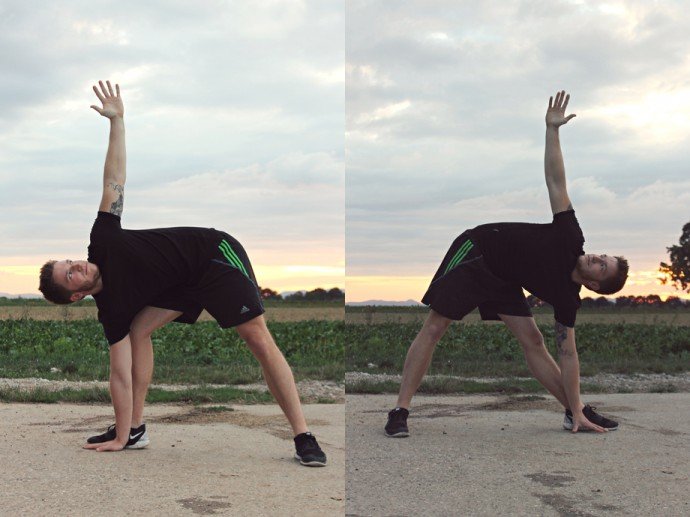
The triangle offers lots of good stuff: It stretches your inner thighs, hamstrings, obliques and chest. It also gives spine a little twist (calm down, that’s a good thing).
Start with your feet more than shoulder-width apart. One foot points straight ahead, the other one is angled perpendicular to the side. Imagine walls directly in front of and behind you. Now tilt your torso to the side of the angled foot. It helps to slide your hand along your leg. Ideally, one hand touches the ground flat, while your arms form one line that points straight to the sky. Look at your hand and keep your neck in line with your upper body.
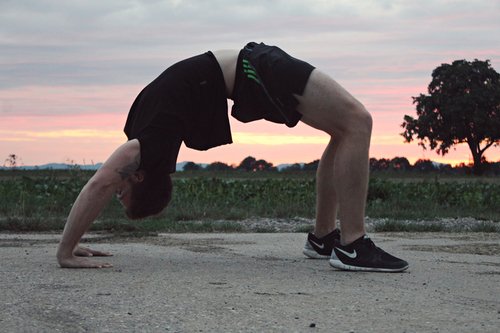
4. Deep Lunge
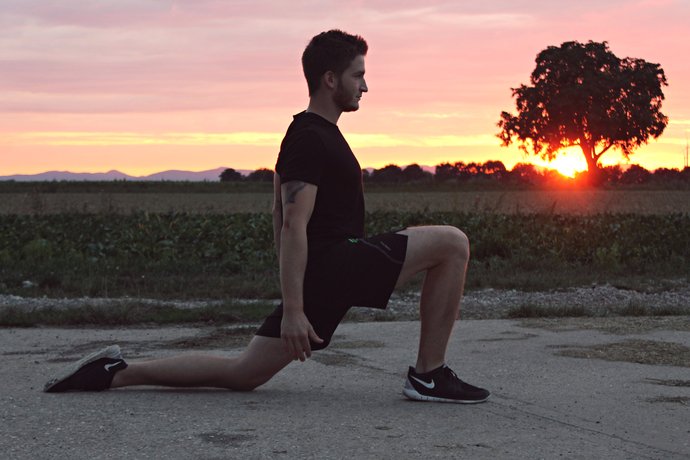
A killer pose to stretch your hip flexors, quads and lower abs. Fantastic when attempting shrimp squats, back bridges and generally a must-do for every desk jockey.
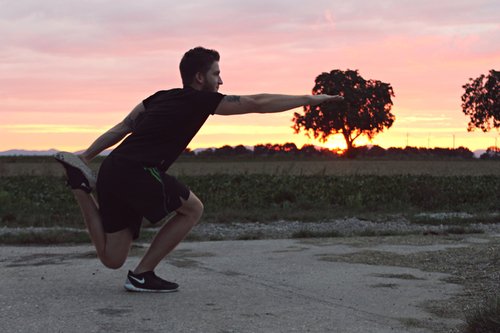
Take a big step forward and get into a lunge. Now flatten your rear foot so that its upper side touches the ground. With an upright torso, lean forward. Press into the ground with the big toe of the rear foot.
You can intensify the stretch by reaching up and to the side (the side of the front leg) with your hands. Other variations are touching your elbow to the ground or drawing a big happy rainbow around you by reaching up and behind you with one hand.
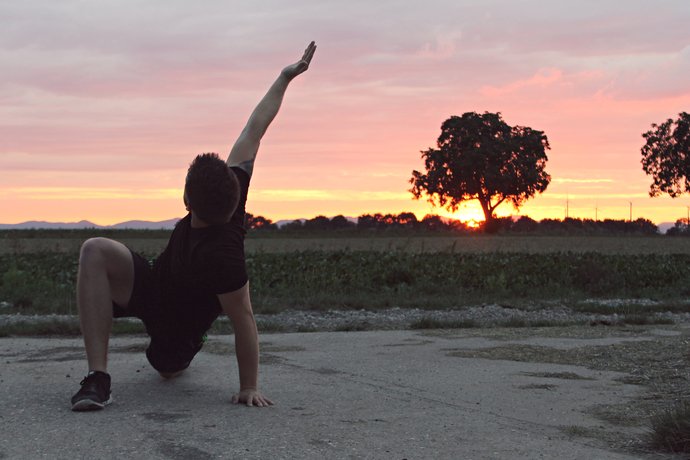
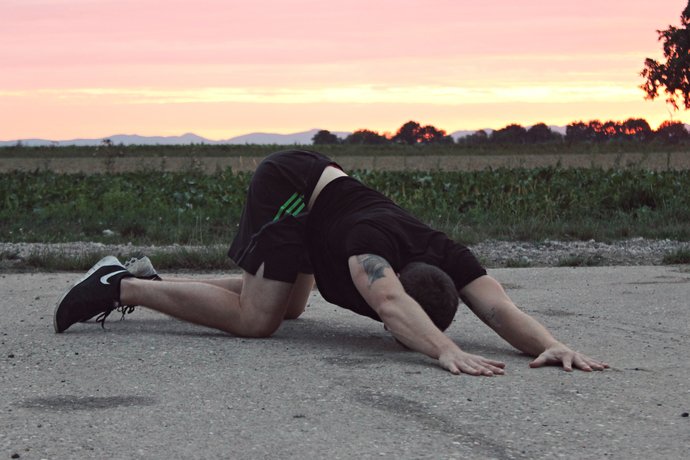
5. Heart Opener
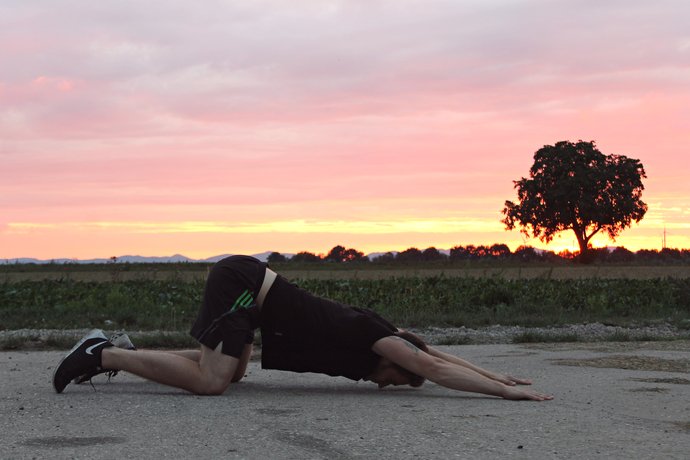
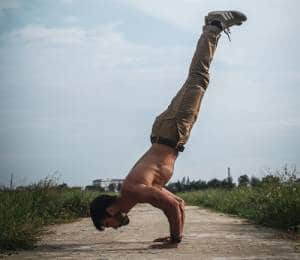
This one’s helping me tons with my handstand line and is also excellent for improving your back bridge. It stretches primarily the pecs and lats. These are excellent if you have tight shoulders (looking at you, gentlemen!).
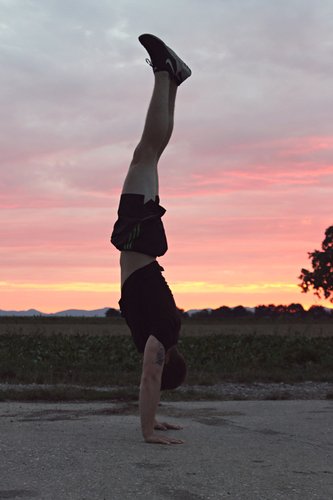
(My handstand is still a work in progress, but I’m getting there!)
Start on all fours. The hip stays above your knees at all times. This is key. Now walk your hands forward as far as possible. Try to bring your chest to the ground.
Arms are straight and the goal is to rest your chin on the ground. You can modify this sucker by walking your hands to the side. This will intensify the stretch in the lats and obliques.
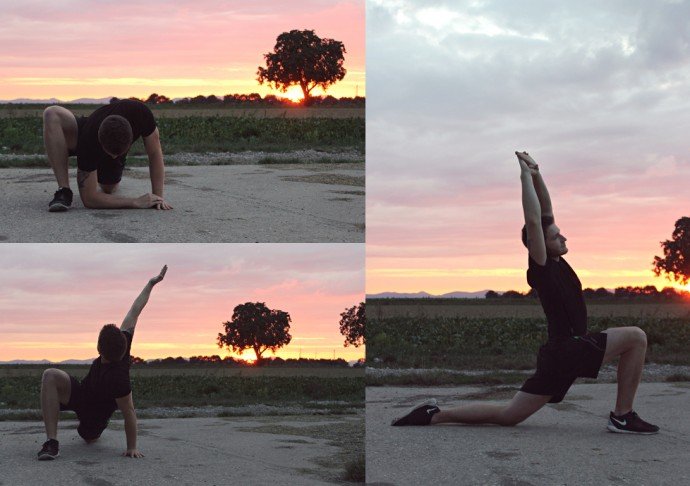
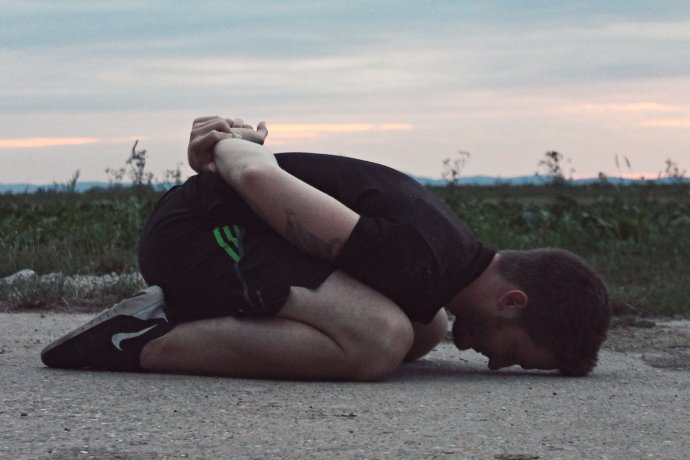
6. Twisted Seat
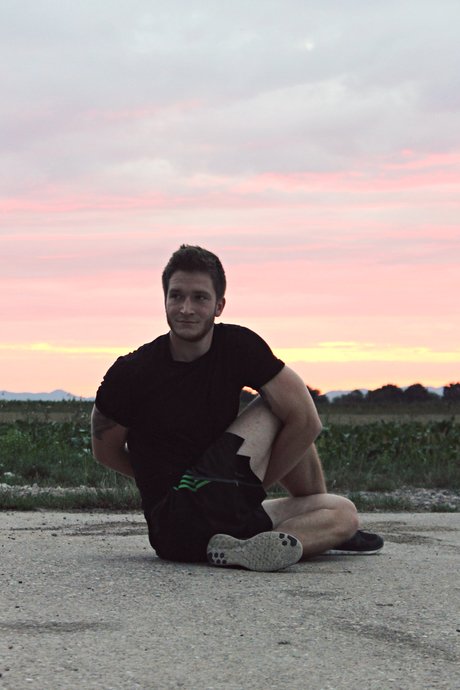
Now that we are on the ground, let’s stay there and get into a twisted seat. Regularly rotating your spine is a healthy thing to do for your spinal discs. Do them the favor. This is a killer stretch for your glutes (read: butt cheeks) and simultaneously works shoulder mobility. Win-win-win.

If you’re able to grab your hands behind your back, that’s awesome. If not, do a modified version and use one arm to support yourself.
Take a good look at the pictures, because describing this in written words gives me headaches.
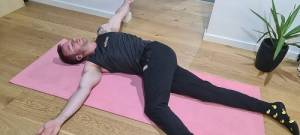
7. Hero
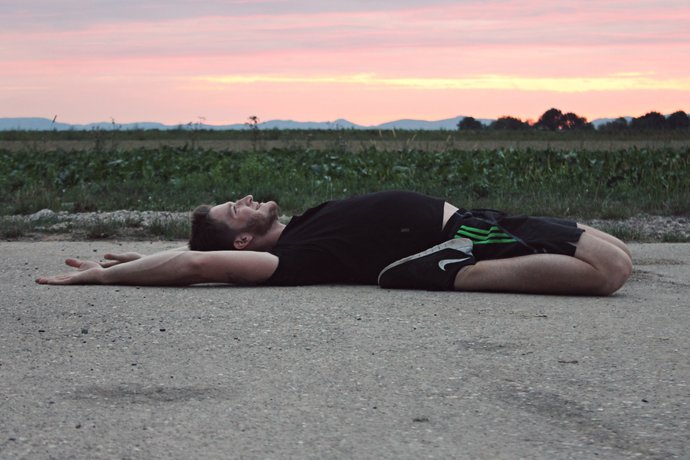
Ever watched joggers in the park stretching their quads by grabbing one foot behind their butts? That right there is the definition of half-assing. Enter the hero pose. Again, super helpful for bridges and shrimp squats.
Start in a kneeling position. Tilt your torso back until it lies on the ground. Ideally, your arms are reached out over your head flat on the ground, while your feet press into the ground right beside your hips.
Modifications to make this pose easier are to start with feet closer together (under your buttocks). You can also put something behind you to elevate the resting position of the torso. Definitely use your arms to ease into this position in the beginning.
Bonus: Child’s Pose
We did a lot of back bending in this sequence. There’s a good reason for that. Most of us spend too much time in the exact opposite of a back bend: sitting.
But in order to decompress the spine after all this back bending, get into a child’s pose as a last resting pose of your cool-down routine.
As a final note: Always be wary of list posts like this. While I truly find these stretches to be very effective and use them myself, these are not the be-all-end-all of flexibility work. Physical training is always a very individual problem and you might have to alter this so that it suits your specific goals.
Despite the fact that we all are unique snow-flakes, my recommendation is to apply this exact cool-down routine as is for a couple of weeks. Are you improving your flexibility in the areas that need it? Good. Keep doing what you’re doing. If not, the first assessment is to check whether you do the poses correctly (deep, long, frequent, relaxed enough) and then change the procedure as needed.
Move freely.
-Silvio
Editors Note: Neat Strength sadly shut down in 2018, we have therefore removed the links to his site and social media.
[/fusion_text][/fusion_builder_column][/fusion_builder_row][/fusion_builder_container]

2 Responses
A really interesting article thanks Silvio. Mobility is certainly something that I’m starting to work more on myself.
Hi there! Would you mind providing a little more detail about warm ups? Which exercises do you recommend and for how long? Cheers Tom